Creating social media videos without a plan can lead to wasted time and resources. Storyboarding is the solution - it’s a step-by-step visual plan that ensures your video is goal-oriented, audience-focused, and platform-optimized. Here’s a quick summary of the process:
- Define Your Video Goals: Set clear objectives (e.g., brand awareness, traffic, or leads) using the SMART framework, and tailor your content to your target audience.
- Create Your Story Outline: Plan a beginning, middle, and end with a strong hook, clear message, and a call-to-action.
- Sketch Key Scenes: Use simple drawings or tools to visualize frames, camera angles, and transitions.
- Add Technical Details: Include platform-specific specs (e.g., resolution, aspect ratio) and plan for text overlays, colors, and transitions.
- Review and Get Feedback: Collect input from your team, prioritize changes, and refine the storyboard.
- Organize Your Storyboard: Sequence frames logically, number scenes, and prepare a shot list for production.
- Prepare for Production: Finalize materials, brief your team, and ensure everyone is aligned before filming.
Why It Matters: Storyboarding saves time, reduces errors, and ensures your video aligns with your goals and audience preferences. Whether it’s for TikTok, Instagram, or LinkedIn, a well-planned storyboard is your blueprint for success.
Visual Communication with Storyboarding
Step 1: Define Your Video Goals
Before diving into the creative process, take a step back and define the purpose of your video. Think of it like planning a road trip - without a clear destination, even the most stunning scenery won't get you where you need to go. Goals act as your compass, ensuring every scene you create serves a purpose.
According to research, 70% of successful marketers credit their achievements to having well-defined, documented strategies with clear objectives. This clarity is what separates attention-grabbing content from videos that simply fade into the background.
Set Clear Objectives and Know Your Audience
Every video needs a clear objective from the start. Are you aiming to boost brand awareness, drive website traffic, or generate leads? Each goal requires a unique approach, influencing everything from the opening hook to the final call-to-action.
The most effective objectives follow the SMART framework: Specific, Measurable, Achievable, Relevant, and Time-bound. For example, instead of a vague goal like "increase engagement", aim for something like "boost video comments by 25% within 30 days." This level of precision will guide your decisions, from scene transitions to pacing.
"Brands remain focused on increasing brand awareness and engagement. Marketers have to consider how their brand is being talked about versus their competitors. And they're looking to see how often their audience is engaging with content because brand awareness becomes a long-term game, especially as teams uncover more creative trademarks that score consistent engagement." - Olivia Jepson, Senior Social Media Strategist at Sprout
Knowing your audience is just as important as setting goals. With over 3.6 billion people using social media worldwide, trying to appeal to everyone is a losing game. Instead, zero in on your target demographic - what are their interests, challenges, and online behaviors? For instance, 60% of Instagram users discover new products on the platform, but only if the content resonates with their needs and preferences.
Your storyboard should reflect both your business goals and your audience's values. For example, if you're targeting professionals on LinkedIn, focus on themes like efficiency and results. On the other hand, if you're creating for a younger TikTok audience, lean into humor, trends, and relatability.
Consider Platform Requirements
Each social media platform has its own "personality", and your video needs to fit. What works on LinkedIn likely won't resonate on TikTok, and vice versa. The average person uses 6.7 different social networks per month, but they expect tailored experiences on each.
Here’s how platform-specific requirements can shape your storyboard:
| Platform | Caption Length | Hashtags | Posting Frequency | Audience Mindset |
|---|---|---|---|---|
| 1-80 characters | 1-2 | 1-2 per day | Personal connection, community | |
| 138-150 characters | 3-5 | 3-7 per week | Visual discovery, lifestyle | |
| X (Twitter) | 71-100 characters | 1-2 | 1-2 per day | Real-time updates, conversations |
| 25 words | 1-2 | 1-5 per day | Professional networking, industry news | |
| TikTok | 300 characters | 2-3 | 1-4 per day | Entertainment, trends, creativity |
Take Wendy’s for example. They’ve mastered X (Twitter) with their snarky, humorous tone that consistently goes viral. Meanwhile, HubSpot’s Instagram strategy relies on visually engaging Reels and memes, contrasting with their more formal LinkedIn presence.
Visual content consistently outperforms text-only posts in clicks, shares, and comments, but the type of visuals matters. For TikTok, your storyboard might include fast-paced cuts, trending audio, and vertical framing. On LinkedIn, you’d focus on polished graphics and detailed explanations.
Keep your audience’s mindset in mind for each platform. LinkedIn users are often seeking professional insights or career development, while Instagram users might be looking for inspiration or entertainment. Tailor your storyboard accordingly, from the tone of the opening scene to the complexity of your message.
Since videos now make up 33.33% of all online activity, aligning your content with platform expectations isn’t optional - it’s the key to standing out and achieving your goals.
Step 2: Create Your Story Outline
Now that you’ve set your objectives, it’s time to build the framework that will turn your ideas into engaging stories. A solid outline is what transforms creative sparks into a narrative that flows. Here’s why it matters: social videos generate 1,200% more shares than text and image content combined. That’s a clear sign your narrative needs to grab attention and hold it all the way through.
Generate Content Ideas
Start by tapping into your audience insights to come up with ideas that truly connect. Dig into their pain points, interests, and the conversations they’re having online. This is where you’ll find the most relatable and impactful topics.
Here’s how to brainstorm effectively:
- Look at your existing content to find themes that have already performed well.
- Pay attention to customer interactions - emails, support tickets, or feedback often reveal real challenges and desires.
- Track trending topics with tools like Google Trends or by following relevant hashtags on social media. Just make sure to filter these trends through your brand’s unique voice and perspective.
The goal is to focus on ideas that highlight your brand’s perspective, share customer experiences, or provide insights into your industry.
Build Your Story Structure
Every great social video sticks to a tried-and-true structure: beginning, middle, and end. This structure should align with the goals you set in Step 1, ensuring everything ties together seamlessly.
- Start with a hook: Grab attention in the first 3–5 seconds. Use striking visuals, ask a bold question, or make a strong statement that pulls viewers in.
- Develop your core message: Stick to a single, clear message. Introduce a challenge or conflict to keep things interesting, then provide context and build momentum toward a resolution.
- End with a call-to-action (CTA): Wrap it up by guiding viewers on what to do next. Whether it’s liking, sharing, visiting your site, or following your account, make the next step obvious.
To make your story unforgettable, weave in an emotional arc - whether it’s humor, inspiration, or empathy [13]. A well-crafted emotional journey keeps your audience engaged and ensures your message sticks.
Your outline should not only map out the sequence of events but also plan the emotional experience you want viewers to have. This will set you up perfectly for the next step: visualizing each scene in detail.
Step 3: Sketch Your Key Scenes
Now that your story outline is ready, it’s time to take those ideas and transform them into visual blueprints. Think of this as your video’s dress rehearsal - a chance to plan everything from lighting and flow to voiceovers and the emotions you want your audience to feel. Storyboarding also helps you spot gaps or issues before production begins, saving time and effort later on.
Use Simple Drawing Techniques
You don’t need to be an artist to create an effective storyboard. Even stick figures and basic shapes can get the job done. The goal here is clarity, not artistic perfection. Use simple rectangles to represent screens or devices, circles for faces, and straight lines for bodies. If your video involves a product, a basic geometric shape can stand in for it.
For added convenience, digital tools like Canva or Adobe Express can help you refine these sketches. Number your thumbnails to keep everything organized and avoid confusion during team discussions.
Pay attention to framing and composition. Clearly show where characters or elements are positioned in each frame, and indicate the camera angles you have in mind. Once your sketches are complete, annotate them so your team knows exactly what each frame represents.
Add Scene Notes and Details
Sketches alone aren’t enough - they need context. Add detailed notes to each scene to explain what’s happening. Use clear, specific descriptions and include any dialogue or voiceover text as planned. If a scene is meant to evoke a particular mood or emotion, make sure to note that as well.
Arrows and notes can indicate camera movements or actor directions. For instance, if the camera should zoom in on a product feature, draw an arrow and add a note like “Zoom in to highlight button.” If an actor needs to point to something off-screen, include an arrow and a brief explanation.
Don’t forget technical details, such as lighting (e.g., warm or bright), color schemes, props, and backgrounds. Also, describe how scenes will transition - whether it’s a quick cut, a fade, or a swipe effect. These details help refine your vision and ensure everyone is on the same page.
An annotated storyboard is more than just a planning tool - it’s a guide that keeps your entire team aligned, from the videographer to the editor.
Step 4: Add Technical and Visual Details
This is where your storyboard goes from a basic outline to a detailed guide that ensures your video meets platform-specific requirements and looks polished. By adding technical specs and visual details, you eliminate guesswork and set your project up for success.
Include Technical Specifications
Every platform has its own video standards, and including these directly on your storyboard can save time and prevent errors during production. Start by labeling each frame with the platform and video type, like "Instagram Reels" or "Facebook Feed Video."
For instance, Sprout Social’s 2025 guide highlights the following requirements:
- Facebook in-feed videos: Resolution of 1,280x720 (landscape) or 720x1,280 (portrait), aspect ratio of 16:9 or 9:16, maximum file size of 10GB, and video length between 1 second and 240 minutes.
- Instagram Reels: Minimum resolution of 720p, maximum resolution of 1,920p, 9:16 aspect ratio, maximum file size of 4GB, and duration from 3 seconds to 15 minutes.
Be sure to annotate camera movements and angles on your storyboard. Use arrows to show pans, tilts, or zooms, and note the speed of these actions - whether it’s a slow zoom or a quick cut. Don’t forget to include the frame rate (FPS) for each platform, as this affects how smooth the motion appears. You should also add timing notes for each scene to guide the editing process, specifying exactly how long each shot should last.
Make a note of the recommended video formats, such as MP4 or MOV, to avoid quality issues during uploads. These technical details help keep production on schedule and within budget.
Once your technical specs are in place, it’s time to focus on the visual elements that will bring your storyboard to life.
Plan Visual Elements
With the technical groundwork laid, refine your storyboard by planning the visual elements that will elevate your video. Think about text overlays, colors, and transitions - these details can have a big impact on how your audience engages with your content. For example, since up to 85% of Facebook videos are watched without sound, text overlays are essential for delivering your message. Plan where these overlays will appear in each frame, and keep text under 20% of the image space to maintain a clean, balanced look.
Choose fonts that are easy to read, like Arial or Helvetica, and use high-contrast colors to ensure readability on mobile devices. Colors can also influence emotions - reds and oranges feel energetic, while blues and greens create a calming effect.
Placement matters, too. Position text overlays in the lower third of the screen to avoid obstructing key visuals, and keep the messaging concise to avoid clutter. Done well, text overlays can increase engagement by 25% and improve message retention by 30%.
Here’s a quick guide to text overlay best practices for different platforms:
| Platform | Text Overlay Best Practices |
|---|---|
| Short, impactful text; animated overlays; vertical video placement; hashtags in overlays | |
| YouTube | Clear subtitles; clickable annotations; concise explanations; bold title cards |
| Professional fonts; data visualization; brief, informative bullet points |
Transitions are another key detail to plan. Mark on your storyboard whether you’ll use quick cuts, fades, swipes, or other effects. If you’re incorporating brand colors or logos, note where these elements should appear to ensure consistency throughout the video. Before finalizing, test your design concepts on mobile devices to make sure they work well in smaller formats.
"Storyboards are not the only means of communication for what I imagine, but they are the point where I begin." – Martin Scorsese
sbb-itb-5bfa442
Step 5: Review and Get Feedback
Once you've nailed down the technical and visual aspects of your storyboard, it's time to step back and review your work. This stage is crucial - it’s where a good storyboard can become a great one, and where you can catch potential problems before they turn into expensive production headaches.
Collect Team Input
Involving the right people at the right time is key to your project's success. As Neel Singh, a UI/UX Designer, puts it:
"To maintain quality and message integrity in a video with stakeholder feedback, I usually start with clear objectives and ensure all stakeholders align with the key message. This happens way before production day. Making sure they are on the same page as me is important to propose an idea."
Start by identifying who needs to provide input on your storyboard. This typically includes your creative team, brand managers, marketing leads, and any clients or executives with final say. Each group brings a unique perspective: the creative team might spot technical flaws, while brand managers ensure the storyboard aligns with company guidelines.
Foster a collaborative atmosphere where everyone feels encouraged to share their thoughts. Tanya Kataruka, a specialist in storytelling and entrepreneurship, highlights the importance of this:
"Encouraging team members to share their ideas and improve the storyboard involves creating a safe and open environment where everyone feels valued and heard. You can do this by actively listening to their suggestions, providing positive feedback, and fostering a culture of collaboration."
Set clear guidelines on how feedback should be shared. Video Producer Gil Garcia stresses the importance of this:
"As a producer, you need to set expectations for how everything is going to go down. The client wants this, whether they realize it or not. Tell them how to give feedback, whether it's Frame.io, an email, whatever. Tell them when you expect the feedback, and tell them that if you don't hear back from them, they're disrupting the timeline."
Organize structured feedback sessions with a clear agenda. Focus on key elements like pacing, message clarity, and visual appeal. Record these sessions (with permission) to ensure you don’t miss valuable input and can revisit discussions later. Wrap up each session with an open-ended question like, "Is there anything else you'd like to share?" to uncover additional insights.
For larger teams, consider offering anonymous feedback options. Junior team members might hesitate to critique senior stakeholders openly, but anonymous channels can surface valuable ideas that might otherwise go unspoken.
Once you've collected all the feedback, you can move forward with revisions and prepare for the final production phase.
Make Improvements
With feedback in hand, it’s time to refine your storyboard. But don’t rush to implement every single suggestion. Instead, take a measured approach to prioritizing and addressing the input.
Start by centralizing all feedback in one place to get a clear overview. Look for recurring themes - if several people mention pacing issues or unclear messaging, those areas likely need attention. On the other hand, subjective preferences like personal color choices might not be as critical to your target audience.
Ratgar Beckmann, Online Marketing Manager at Welotec, underscores the value of this process:
"Reviewing and refining the storyboard is critical to the success of a marketing campaign. This process involves gathering feedback from various stakeholders - marketing teams, creative professionals, and possibly focus groups - to ensure that the storyboard aligns with the campaign objectives and resonates with the target audience."
Effective revisions require clear communication and smart prioritization. When you make changes, explain your decisions to the team - why some suggestions were implemented and others weren’t. This transparency builds trust and shows that you’ve carefully considered all input, even if not every suggestion made the cut.
After making updates, check the storyboard again for any new technical issues introduced during the revisions. Ensure all changes align with your platform’s requirements and your original goals.
Finally, schedule a final alignment meeting with all key stakeholders to review the updated storyboard together. This step helps prevent last-minute surprises that could throw off your timeline or budget.
Step 6: Organize Your Storyboard
Getting your storyboard organized is crucial for a smooth production process. Think of it as your visual roadmap - it keeps everyone aligned and ensures the filming and editing stages run without unnecessary hiccups.
As Martin Scorsese famously said:
"A storyboard is a blueprint for a movie, a way of organizing and planning the visual elements of a story."
But for this "blueprint" to work effectively, it needs to be well-structured and accessible to your entire team. Let’s dive into how to format and use your storyboard to keep everything on track.
Format for Easy Reference
The format of your storyboard can make a huge difference in how efficiently your team operates. To keep things clear and logical, arrange frames sequentially and number your scenes. For multiple shots within a scene, use decimals (e.g., Scene 1, Shot 1.1, Shot 1.2). This system creates a universal shorthand for your team, making communication easier during production.
Here are some key elements to include:
- Visual thumbnails: Use aspect ratios like 4:3 or 16:9 to match your final output.
- Action descriptions: Add notes about camera movements or any specific actions.
- Dialogue/voiceover cues: Place these under the corresponding frame so they’re easy to find.
- Timing notes: Indicate how long each shot or scene should be to establish pacing.
Don’t stress about making your visuals perfect - stick figures and simple shapes are fine as long as they communicate the essential details. The goal is functionality, not artistry.
Focus on your story's key scenes. If your storyboard feels overwhelming, create a condensed version highlighting the most critical moments. This quick reference can be a lifesaver for ensuring pivotal scenes are executed flawlessly.
Before moving forward, take a step back and review your storyboard as a whole. Does the sequence flow logically? Are there any abrupt transitions or missing elements? Fixing these issues now will save you a lot of time and frustration later.
Use AI Tools Like Paracast.io
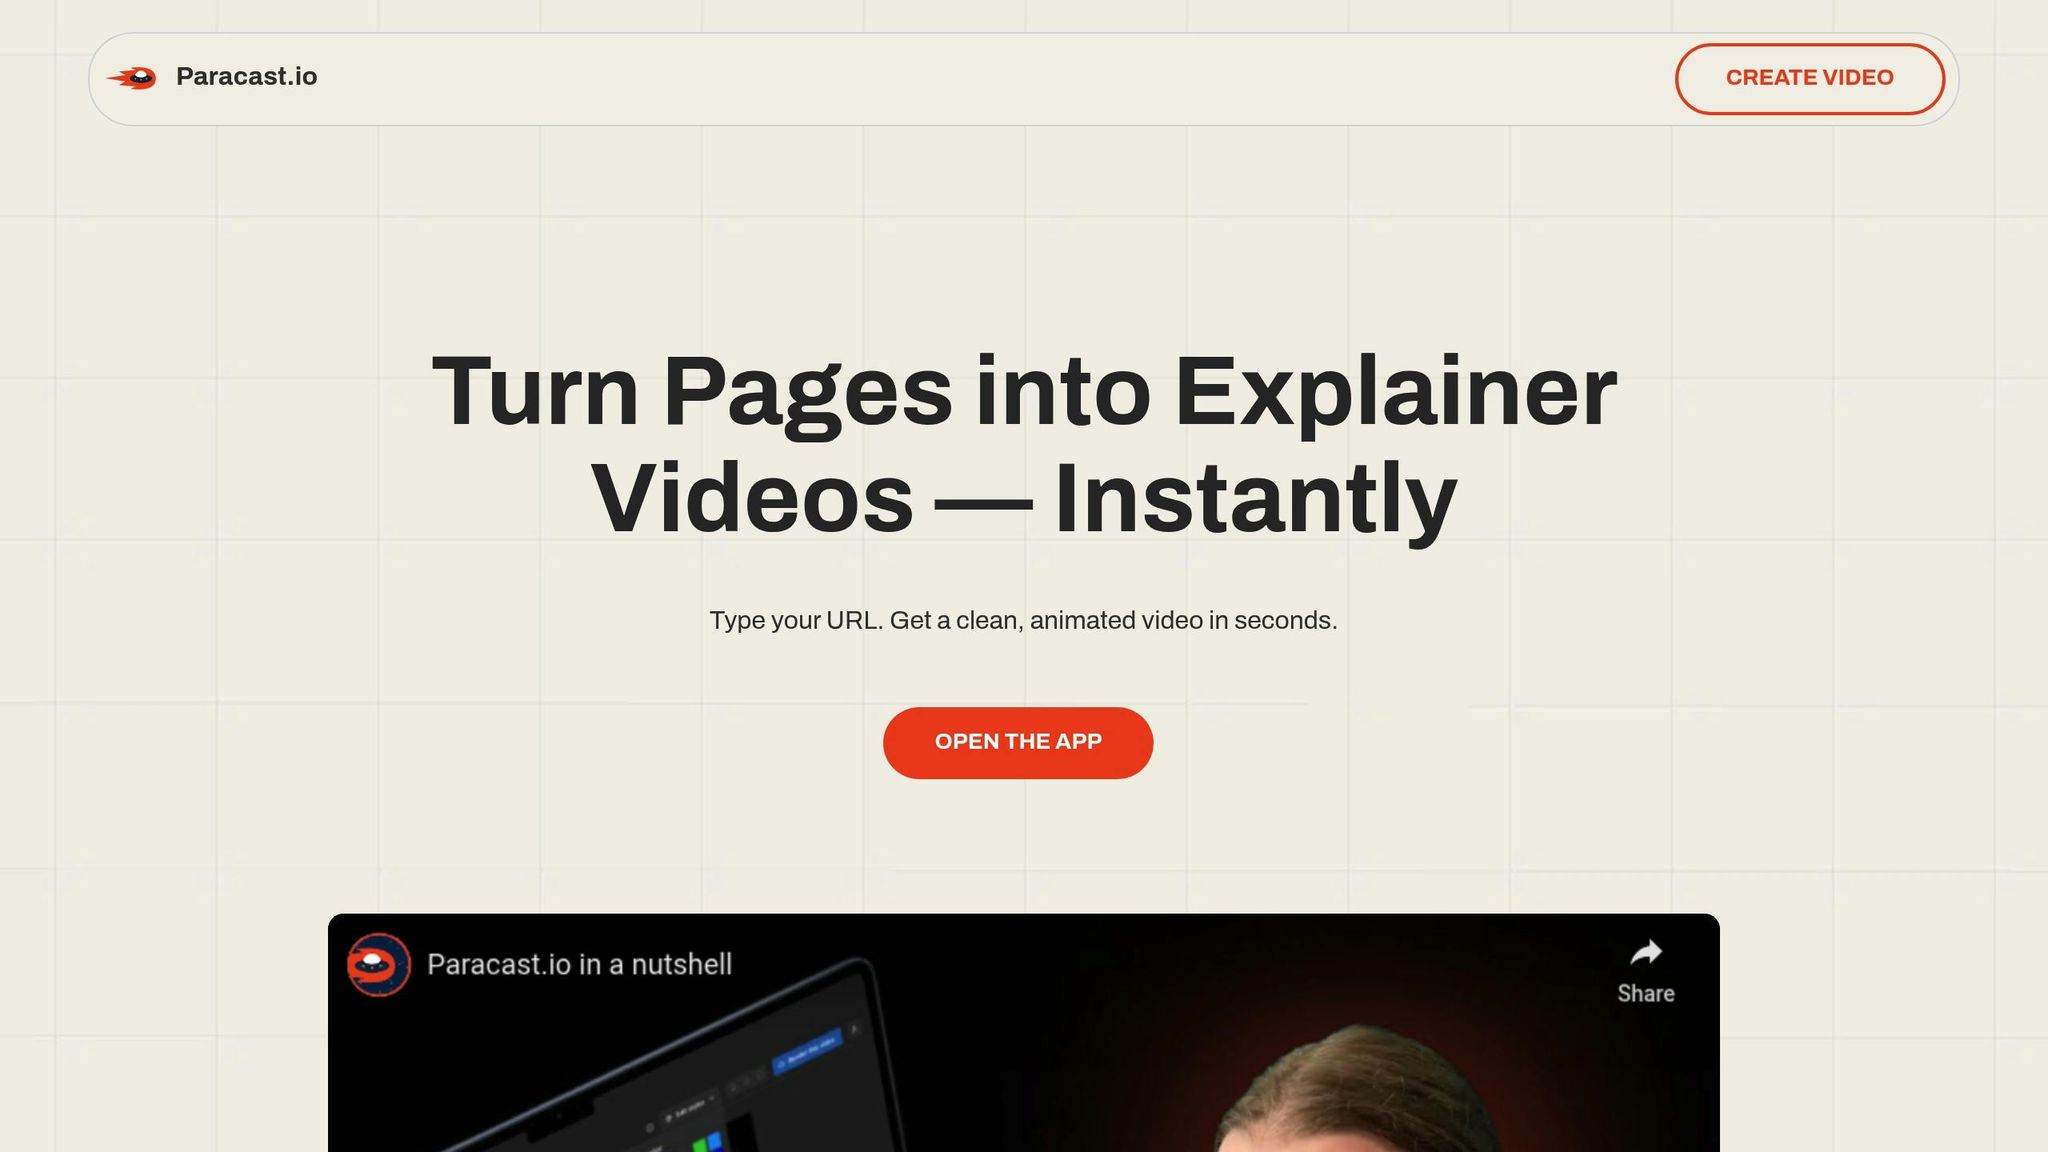
Once your storyboard is polished, consider integrating AI tools to speed up production. While traditional methods work well, AI-powered platforms can be a game-changer, especially for smaller teams or startups on tight budgets.
For example, tools like Paracast.io allow you to create promotional videos directly from your website URL. This can be a huge time-saver for projects like product demos or feature announcements, where filming every scene manually might not be practical.
Paracast.io offers pre-designed templates tailored to common storyboard scenarios. If you’re working on a social media campaign, this approach can save you hours. Simply guide the AI with your storyboard, then tweak the output using straightforward editing tools. With features like 1080p video quality and unlimited downloads, it’s easy to produce versions optimized for different platforms.
Step 7: Prepare for Production
You’ve fine-tuned your storyboard and gathered important feedback - now it’s time to move from planning to filming. This step is all about turning your visual roadmap into actionable production materials that your team can confidently use on set.
Michelle Connolly, Director at Educational Voice, explains it best:
"A well-crafted storyboard is like a roadmap, it navigates us through the visual landscape of a story before it comes to life on the screen."
However, even the best roadmap won’t help if your team doesn’t know how to use it. Let’s make sure everyone is ready to hit the ground running.
Finalize Production Materials
Your storyboard has shaped every creative decision so far, and now it becomes the backbone of your production. To avoid confusion, transform it into a complete production package that includes all the details your team will need.
- Shot List: Break down each storyboard frame into specific filming instructions. Include scene numbers, camera angles, movements, transitions, and any special equipment necessary. For example, if a scene requires a slow pan, specify the speed and direction.
- Annotations: Add detailed notes for camera work, audio cues, transitions, and visuals. This ensures everyone knows exactly what’s required for each shot.
- Customized Storyboards: Create different versions for various team members. Directors may need editable versions for technical details, while actors benefit from simplified versions showing blocking and movement. A condensed reference sheet can also help with quick consultations on set.
- Production Schedule: Plan filming dates, times, and locations, along with crew call times. Cross-check your schedule with the storyboard to ensure scenes are shot in the most efficient order, even if it’s not chronological.
- Props, Wardrobe, and Assets: Organize everything your storyboard specifies. If a scene calls for a specific backdrop, lighting, or costume, communicate these requirements clearly to your team.
Brief Your Production Team
With your production package ready, focus on briefing your team to ensure everyone is aligned. A clear and detailed brief sets the stage for a smooth filming process. As Peter Walsh from NINJA video house puts it:
"A clear and comprehensive brief is the foundation of a successful video project. It ensures your production team understands your goals, vision, and expectations, saving time, money, and potential headaches down the line."
Start by outlining the video’s purpose and objectives. Be specific about what the video should achieve and tie these goals to measurable outcomes. If your storyboard was designed with a particular goal in mind, make sure everyone understands how it influences the creative direction.
Your production brief should connect the creative vision to practical steps. Use it to explain the video’s tone and style, share reference examples, and include any relevant brand guidelines. Whether the video needs a polished, scripted feel or a spontaneous, documentary vibe, make this clear to the team.
Highlight the key messages of your video - stick to one to three main points. While the storyboard reinforces these messages visually, your team needs to understand their priority and importance.
Be specific about deliverables. Detail the video’s length, formats, and resolutions, and confirm platform-specific requirements. For instance, Instagram Stories and YouTube videos have different technical specifications.
Establish a clear feedback process to streamline approvals and revisions. While some adjustments may be needed during production, having designated decision-makers and limits on revisions helps keep everything on track.
Encourage open communication among all team members, from storyboard artists to directors and stakeholders. As Michelle Connolly emphasizes:
"Constant feedback on storyboards is crucial; it's the cornerstone of refining our animated narratives to captivate our target audience."
Finally, be flexible. Your storyboard provides structure, but your crew’s expertise might lead to practical improvements during filming. The goal is to bring your vision to life, not to follow every sketch rigidly if adjustments are needed on set.
Conclusion
Creating effective social media videos starts with detailed planning and a well-structured storyboard. What might initially feel like a daunting creative process becomes far more manageable when broken down into the seven steps we've discussed. This approach not only helps you map out your shooting schedule but also ensures your creative vision aligns with your practical goals.
"A storyboard is a visual representation of a video's storyline... It acts as a blueprint, illustrating how each frame of the video will unfold".
Storyboarding is more than just a planning tool - it’s the backbone of a successful video production. It helps you organize your scenes, maintain a cohesive narrative, and produce content that connects with your audience. By addressing potential issues early, a storyboard minimizes costly revisions, keeps your team on the same page, and provides a clear creative direction.
It’s also a powerful tool for collaboration. Whether you’re working with a small group or juggling input from multiple stakeholders, having a visual reference ensures everyone understands the plan and can work together more efficiently.
While thorough planning might seem time-intensive, it’s an investment that pays off. It shapes a compelling narrative, reduces the need for last-minute fixes, and helps you identify the resources needed to stay within budget .
As Walt Disney famously said:
"In our studio we don't write stories, we draw them." – Walt Disney
FAQs
How do I make sure my social media video storyboard fits the requirements of each platform?
To make sure your video storyboard works perfectly for each platform, tweak it to meet specific needs like aspect ratio, video length, and content style. For instance, opt for vertical formats when creating videos for TikTok, Instagram Reels, or Stories, and keep the duration short on platforms that thrive on quick interactions.
Consider the unique audience on each platform and how they engage with content. Tailor your storyboard to match their preferences - whether that means punchy, attention-grabbing clips or visually rich designs. This way, you’ll deliver content that connects with viewers and performs effectively across various channels.
How can I effectively gather and use feedback from my team on a storyboard?
To get useful feedback on your storyboard, start by sharing it with your team using real-time collaboration tools. These tools make it easy for everyone to leave comments and suggest edits directly, speeding up the process and keeping communication clear.
Invite input from team members with varied roles and expertise. Their different viewpoints can bring fresh ideas and help improve your storyboard's overall quality. After collecting feedback, break it down into actionable steps and prioritize the changes. This organized method helps you manage revisions efficiently and keeps the process on track.
How can I balance creativity and technical limitations when planning social media videos?
Balancing creativity with technical limitations often means treating constraints as a springboard for fresh ideas. Keep your core creative vision front and center, but stay flexible in identifying areas where tweaks can be made without diluting your message.
Start by setting priorities and managing resources effectively. Planning ahead can save time and help you focus on what truly matters. Use tools that simplify production workflows, and foster teamwork to ensure everyone is on the same page. This way, your creative goals align with what’s technically possible, resulting in a video that's both captivating and achievable.
To make the process smoother, platforms like Paracast.io can be a game-changer. With AI-powered tools and customizable templates, it enables you to produce polished social media videos quickly and efficiently.